Game development is a highly dynamic field where creating complex systems efficiently can make or break a project. One of the most useful patterns in game programming is the State Design Pattern, which allows developers to manage an object’s state transitions effectively. This pattern not only helps organize code but also improves the scalability and readability of game systems.
In this post, we’ll dive deep into the State Design Pattern, exploring its importance in game development, especially in Unity. We’ll break down the use cases, advantages, and a practical Unity-based example to illustrate how it works.
1. What is the State Design Pattern?
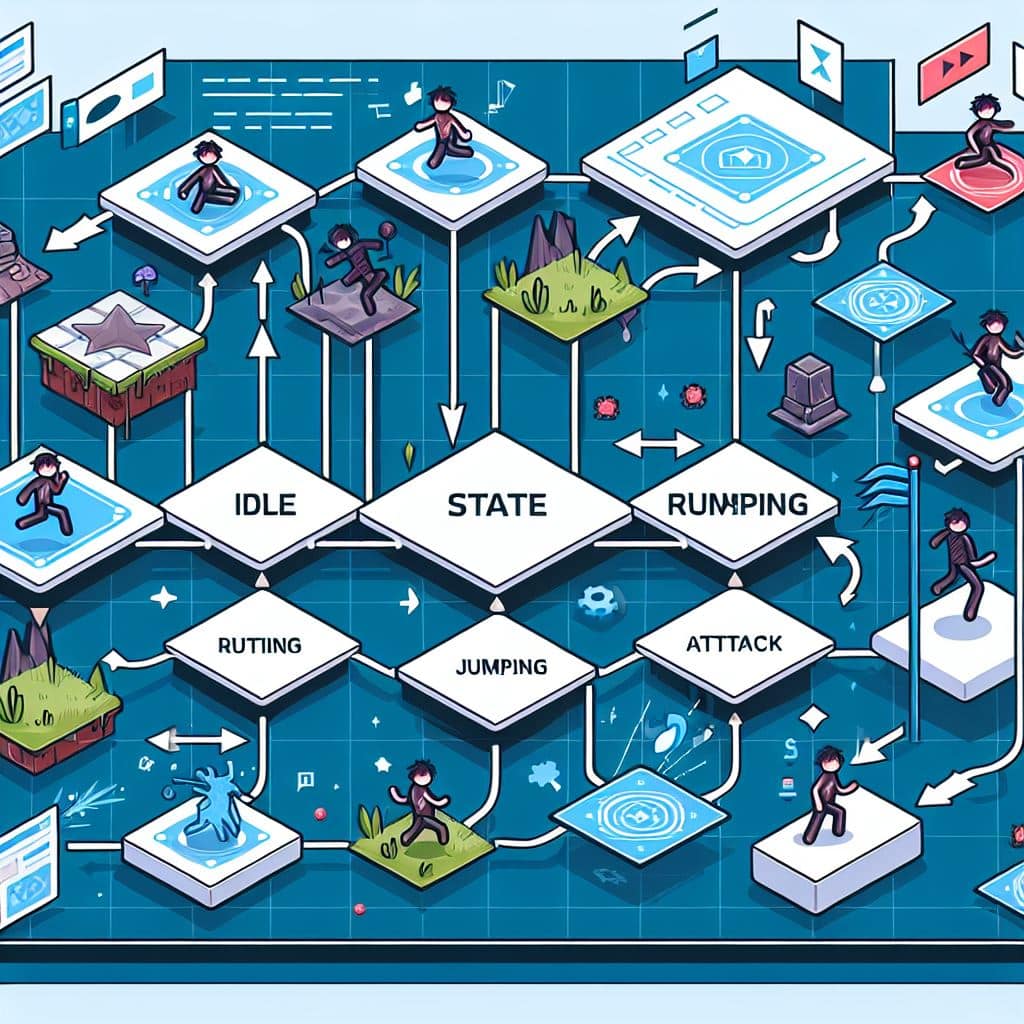
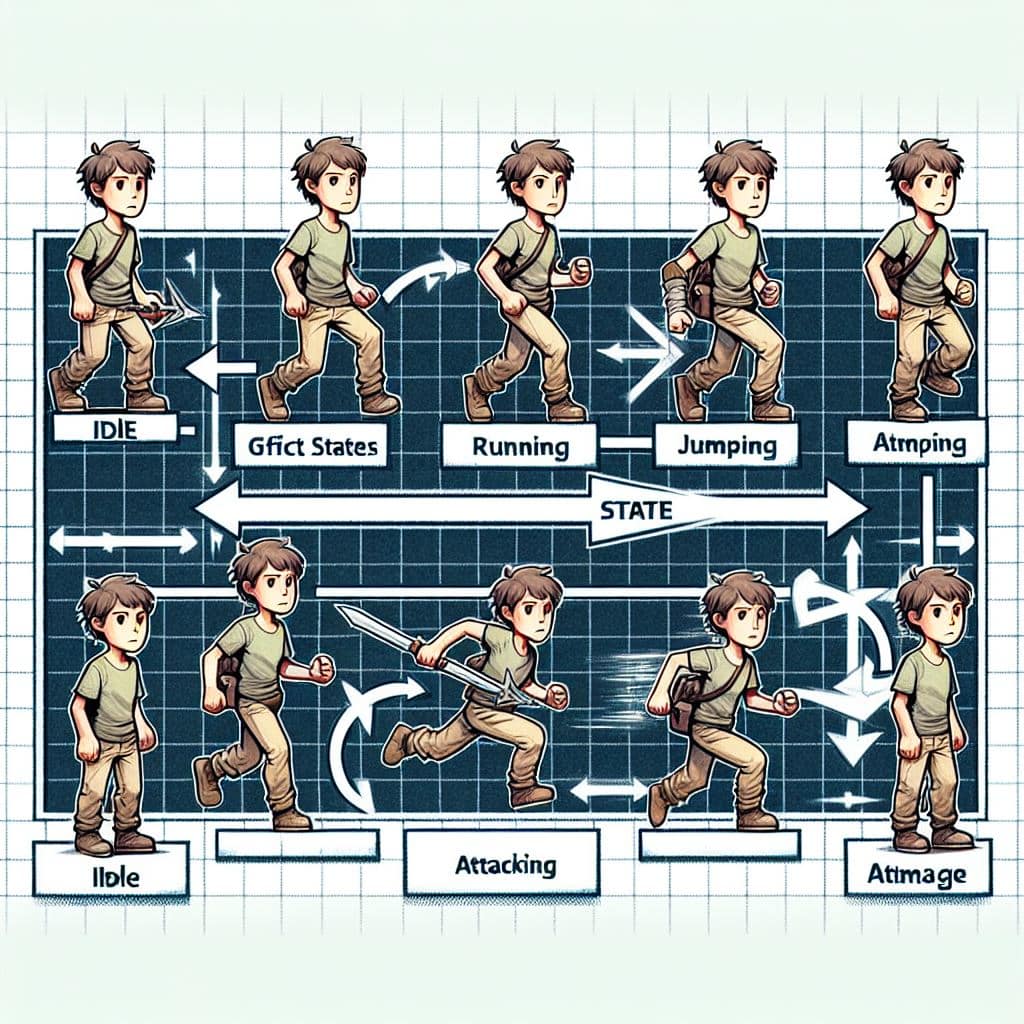
The State Design Pattern is a behavioral software design pattern that enables an object to alter its behavior when its internal state changes. Think of it like a character in a game that can switch between different states—such as walking, running, attacking, or idle—and each state defines how the character behaves.
In simpler terms, the pattern allows you to encapsulate different states into separate classes. Each class represents a specific state, and the object (like a game character) can switch between these states, which in turn defines how it behaves in that particular situation.
The benefit? You avoid long, messy conditionals or switch statements that would otherwise handle the logic for each state, making your code more readable, maintainable, and scalable.
2. Why Use the State Design Pattern in Game Development?
Games, by nature, involve various states—characters move, attack, defend, or idle; menus open and close; levels load and unload. Handling these states efficiently is key to building responsive, engaging games. Without a well-structured system to manage states, you could end up with chaotic code that’s hard to debug or extend.
Here are the key reasons why using the State Design Pattern in game development is beneficial:
- Simplifies State Transitions: A game object can exist in multiple states (e.g., idle, moving, jumping). Using the State Design Pattern, you encapsulate these states into their own classes, making state transitions seamless and isolated from each other.
- Improves Code Readability: By segregating different behaviors into state-specific classes, the code is easier to understand and maintain. This eliminates the need for long if-else or switch statements spread across multiple classes.
- Scalability: As your game evolves and new features are added, using the State Design Pattern ensures that you can introduce new states or modify existing ones without affecting the entire system.
- Encapsulates Behavior: The pattern ensures that each state controls its behavior, making the object’s logic more modular and maintainable. You don’t need to mix all behavior in one large class.
3. Advantages of the State Design Pattern
The State Design Pattern offers numerous benefits in game development, especially for projects with complex mechanics.
- Ease of Maintenance: States are separated into distinct classes, so updating or debugging one state doesn’t affect the others. For instance, changing how your character runs doesn’t break the logic for jumping.
- Extensibility: Need a new state? Simply create a new state class without altering the entire system. This is crucial in iterative development.
- Reduced Complexity: Instead of bloated
switchstatements in your update loop, states are cleanly encapsulated. - Separation of Concerns: The pattern encourages separating different states and their behavior, promoting cleaner, more modular code.
- Improved Testing: Testing becomes easier when each state has its own class and logic, leading to more predictable behaviors.

4. Unity Use Case: Implementing the State Design Pattern
Let’s say you’re building a third-person character controller in Unity with multiple states: Idle, Walking, Running, Jumping, and Attacking. Without the State Design Pattern, you might use cumbersome if-else or switch-case logic to determine which action the character should perform. This can quickly become unmanageable as the number of actions and transitions increases.
Step-by-Step Example: Character States in Unity
- Define the State Interface:First, create a basic interface for all your states.
public interface ICharacterState
{
    void EnterState(CharacterController character);
    void UpdateState(CharacterController character);
    void ExitState(CharacterController character);
}
2. Implement the Concrete States:
Now, create the different states. Let’s start with the Idle and Walking states.
IdleState.cs:
public class IdleState : ICharacterState
{
    public void EnterState(CharacterController character)
    {
        character.SetAnimation("Idle");
    }

    public void UpdateState(CharacterController character)
    {
        if (character.IsMoving())
        {
            character.TransitionToState(new WalkingState());
        }
    }

    public void ExitState(CharacterController character) { }
}
WalkingState.cs:
public class WalkingState : ICharacterState
{
    public void EnterState(CharacterController character)
    {
        character.SetAnimation("Walk");
    }

    public void UpdateState(CharacterController character)
    {
        if (!character.IsMoving())
        {
            character.TransitionToState(new IdleState());
        }
        else if (character.IsRunning())
        {
            character.TransitionToState(new RunningState());
        }
    }

    public void ExitState(CharacterController character) { }
}
3. Character Controller Class:
The character controller will manage transitions between states.
public class CharacterController : MonoBehaviour
{
    private ICharacterState currentState;

    private void Start()
    {
        currentState = new IdleState();
        currentState.EnterState(this);
    }

    private void Update()
    {
        currentState.UpdateState(this);
    }

    public void TransitionToState(ICharacterState newState)
    {
        currentState.ExitState(this);
        currentState = newState;
        currentState.EnterState(this);
    }

    // Example methods for movement detection
    public bool IsMoving() { /* Movement logic here */ }
    public bool IsRunning() { /* Running logic here */ }
    public void SetAnimation(string animationName) { /* Animation logic here */ }
}
4. Adding New States:
Want to add a new state, like Attacking? Just create another state class implementing the ICharacterState interface, and modify the transition logic inside your UpdateState methods.
AttackingState.cs:
public class AttackingState : ICharacterState
{
    public void EnterState(CharacterController character)
    {
        character.SetAnimation("Attack");
    }

    public void UpdateState(CharacterController character)
    {
        if (character.IsMoving())
        {
            character.TransitionToState(new WalkingState());
        }
    }

    public void ExitState(CharacterController character) { }
}
5. When to Use the State Design Pattern
While the State Design Pattern is powerful, it may not always be the right solution for every scenario. Here’s when you should consider using it:
- Complex State Transitions: If your game involves frequent transitions between different states, the pattern is ideal for organizing that logic.
- Expanding Functionality: If you anticipate that your game will require new states over time (e.g., additional character abilities or modes), the State Design Pattern allows you to easily add new states without refactoring existing code.
- Reducing Code Complexity: For projects with complex character mechanics or enemy AI, where long
if-elseblocks could bloat the code base, using this pattern keeps the code modular.
Examples in Game Development:
- Character State Management: Switching between idle, walking, running, attacking, etc.
- Enemy AI: Enemies with various states like patrolling, chasing, attacking, and fleeing.
- UI State Management: Switching between different UI panels or menu states.
- Weapon State Management: Handling various weapon states, such as idle, shooting, or reloading.
6. Conclusion
The State Design Pattern is a cornerstone of clean, scalable, and maintainable game development. It allows developers to manage an object’s state transitions efficiently, reduce code complexity, and improve flexibility. For projects in Unity, where characters, UI elements, and game systems constantly change states, implementing this pattern can make your development process smoother and more organized.
By embracing the State Design Pattern in your game, you not only ensure a modular and maintainable system but also make it easier to expand or modify your game in the future. Whether it’s managing character states, UI flows, or complex AI behaviors, the pattern is a powerful tool that can elevate the structure and efficiency of your code base.
Key Takeaway:
Implementing the State Design Pattern allows for better control of state transitions, simplifies debugging, and helps developers create more scalable and flexible systems. Next time you’re building complex game logic, consider adopting this pattern for a smoother development experience!


