Introduction
Design patterns are essential in game development, especially when you want your code to be efficient, modular, and easy to maintain. One powerful pattern that can elevate your Unity projects is the Command Pattern. Commonly used in game development, this pattern allows you to structure game actions—like player movement, attacks, and spells—in a way that’s easy to modify and extend. In this article, we’ll explore the basics of the Command Pattern in Unity, see a practical use case, and walk through an example so you can start using it in your own projects.
Whether you’re new to game programming patterns or simply looking for a cleaner way to handle player actions, this guide will help you master the Command Pattern in Unity.

What is the Command Pattern?
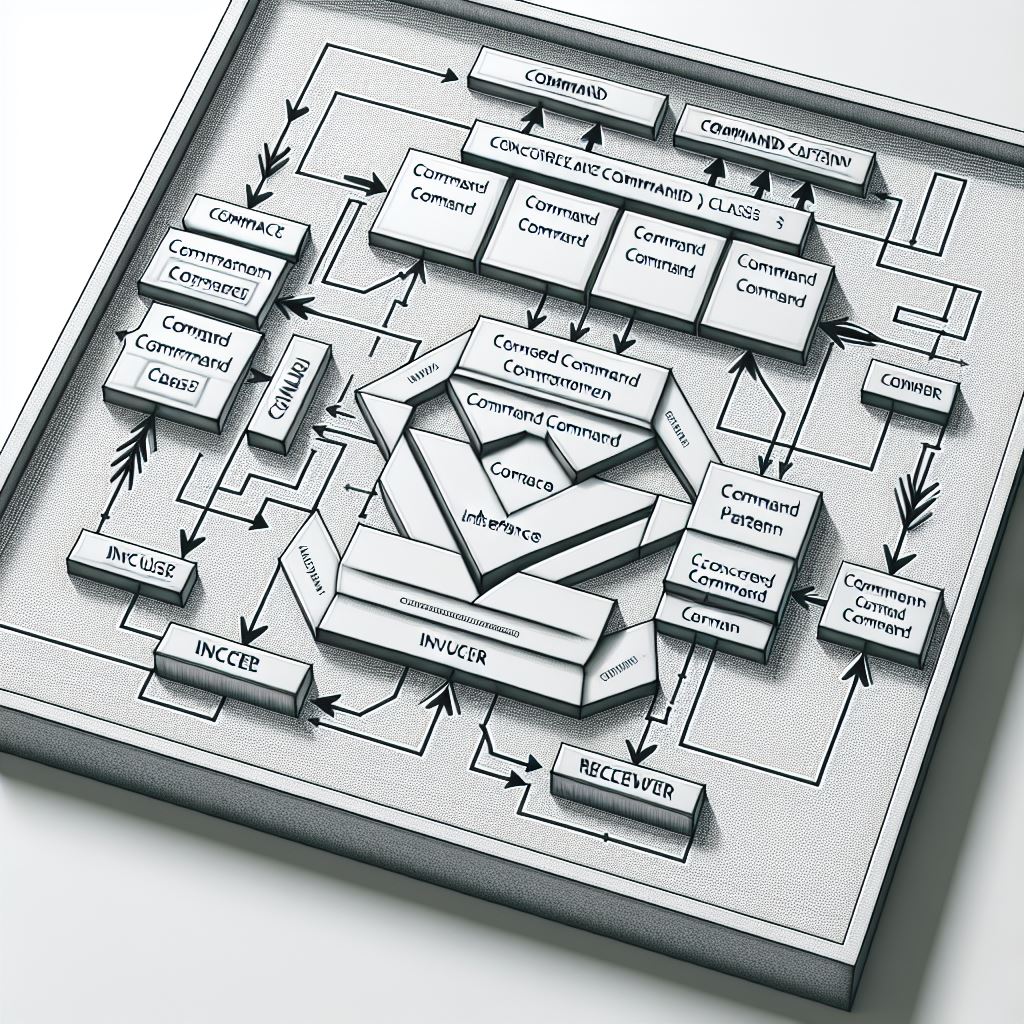
The Command Pattern is a behavioral design pattern that encapsulates a request as an object, allowing you to parameterize and queue requests, log them, or support undoable operations. Essentially, it involves creating command objects that represent different actions, making it easy to execute, queue, or reverse these actions without modifying the classes that use them.
Why Use the Command Pattern in Unity Game Development?
In Unity, the Command Pattern is especially helpful for creating reusable and flexible actions. For example:
- Input Handling: Each command can represent a specific player action, making it easy to change or remap controls.
- Undo/Redo Functionality: If your game requires undo/redo functionality (for example, in level editors), the Command Pattern is an ideal solution.
- Flexible AI Commands: For AI agents, commands can help encapsulate various behaviors, allowing the AI to switch actions on the fly.
Example Use Case: Player Actions in a Game
Imagine a game where the player character can perform various actions: move, jump, attack, and dodge. Using the Command Pattern, each action can be encapsulated in its own class, making the code cleaner and the actions modular. This setup not only makes it easy to implement new actions but also makes it simpler to add advanced features like redoing the last move or chaining commands for combos.
Implementing the Command Pattern in Unity
Step 1: Define the Command Interface
First, we’ll define a Command interface that all commands will implement. This interface will have an Execute method, which will be responsible for executing the desired action.
// Command.cs
public interface Command
{
    void Execute();
}
Step 2: Create Specific Commands
Now, let’s create classes for each specific command, like MoveCommand, JumpCommand, AttackCommand, etc. Each of these classes will implement the Command interface and define its own Execute method.
For this example, let’s create commands for moving, jumping, and attacking.
// MoveCommand.cs
public class MoveCommand : Command
{
    private PlayerController _player;
    private Vector3 _direction;

    public MoveCommand(PlayerController player, Vector3 direction)
    {
        _player = player;
        _direction = direction;
    }

    public void Execute()
    {
        _player.Move(_direction);
    }
}

// JumpCommand.cs
public class JumpCommand : Command
{
    private PlayerController _player;

    public JumpCommand(PlayerController player)
    {
        _player = player;
    }

    public void Execute()
    {
        _player.Jump();
    }
}

// AttackCommand.cs
public class AttackCommand : Command
{
    private PlayerController _player;

    public AttackCommand(PlayerController player)
    {
        _player = player;
    }

    public void Execute()
    {
        _player.Attack();
    }
}
Step 3: Create a Command Invoker
The Invoker class will be responsible for calling the commands. This Invoker could be part of your player input system or a separate InputHandler script.
// InputHandler.cs
using UnityEngine;

public class InputHandler : MonoBehaviour
{
    private Command _moveCommand;
    private Command _jumpCommand;
    private Command _attackCommand;

    private PlayerController _player;

    private void Start()
    {
        _player = FindObjectOfType<PlayerController>();
        _moveCommand = new MoveCommand(_player, Vector3.zero); // Initialize with no movement
        _jumpCommand = new JumpCommand(_player);
        _attackCommand = new AttackCommand(_player);
    }

    private void Update()
    {
        HandleInput();
    }

    private void HandleInput()
    {
        if (Input.GetKeyDown(KeyCode.W))
        {
            _moveCommand = new MoveCommand(_player, Vector3.forward);
            _moveCommand.Execute();
        }
        else if (Input.GetKeyDown(KeyCode.Space))
        {
            _jumpCommand.Execute();
        }
        else if (Input.GetKeyDown(KeyCode.F))
        {
            _attackCommand.Execute();
        }
    }
}
Step 4: Implement the PlayerController Methods
The PlayerController class is where the actual behavior of each command is defined. Here, we’ll define methods for moving, jumping, and attacking.
// PlayerController.cs
using UnityEngine;

public class PlayerController : MonoBehaviour
{
    public void Move(Vector3 direction)
    {
        transform.Translate(direction * Time.deltaTime * 5f);
        Debug.Log("Moving " + direction);
    }

    public void Jump()
    {
        Debug.Log("Jumping");
        // Implement jump logic
    }

    public void Attack()
    {
        Debug.Log("Attacking");
        // Implement attack logic
    }
}
Adding Undo Functionality (Optional)
One of the key benefits of the Command Pattern is that it makes it easy to add undo functionality. To enable this, we can store a history of executed commands and call an Undo method on them when needed.
Modifying the Command Interface to Support Undo
public interface Command
{
    void Execute();
    void Undo();
}
Implementing Undo for Each Command
Each command will now implement an Undo method. Here’s how this could look:
// MoveCommand.cs
public class MoveCommand : Command
{
    private PlayerController _player;
    private Vector3 _direction;
    private Vector3 _previousPosition;

    public MoveCommand(PlayerController player, Vector3 direction)
    {
        _player = player;
        _direction = direction;
    }

    public void Execute()
    {
        _previousPosition = _player.transform.position;
        _player.Move(_direction);
    }

    public void Undo()
    {
        _player.transform.position = _previousPosition;
    }
}
Command History for Undo
Finally, we’ll add a simple stack to our InputHandler to store the command history, allowing us to undo the last command.
using System.Collections.Generic;

public class InputHandler : MonoBehaviour
{
    private Stack<Command> _commandHistory = new Stack<Command>();

    private void ExecuteCommand(Command command)
    {
        command.Execute();
        _commandHistory.Push(command);
    }

    public void UndoLastCommand()
    {
        if (_commandHistory.Count > 0)
        {
            Command lastCommand = _commandHistory.Pop();
            lastCommand.Undo();
        }
    }

    private void HandleInput()
    {
        if (Input.GetKeyDown(KeyCode.W))
        {
            Command move = new MoveCommand(_player, Vector3.forward);
            ExecuteCommand(move);
        }
        // Add more commands and handle other inputs...
        else if (Input.GetKeyDown(KeyCode.Z)) // Press Z to undo
        {
            UndoLastCommand();
        }
    }
}
Benefits of Using the Command Pattern in Unity
- Modularity and Reusability: Commands are encapsulated, making it easier to add, remove, or modify actions without altering other parts of the code.
- Undo/Redo Capabilities: You can easily implement undoable commands by storing a history of executed commands.
- Flexible Input Handling: The Command Pattern separates input handling from action logic, making it easier to implement multiple control schemes.
- AI and Replay Systems: Commands can be queued, making them ideal for AI sequences or replay systems.
Final Thoughts
The Command Pattern is a powerful design tool that can help you manage player actions, create flexible AI, and even add undo functionality. While this example covers the basics, you can expand upon it to handle complex interactions in your games. With practice, you’ll find that the Command Pattern not only organizes your code but also opens up new gameplay possibilities in Unity.
Summary
In this article, we covered the basics of the Command Pattern, walked through a practical Unity example with player actions, and explored how this pattern improves code flexibility and readability. Now, it’s your turn to experiment and see how this pattern can elevate your own Unity projects. Happy coding!


