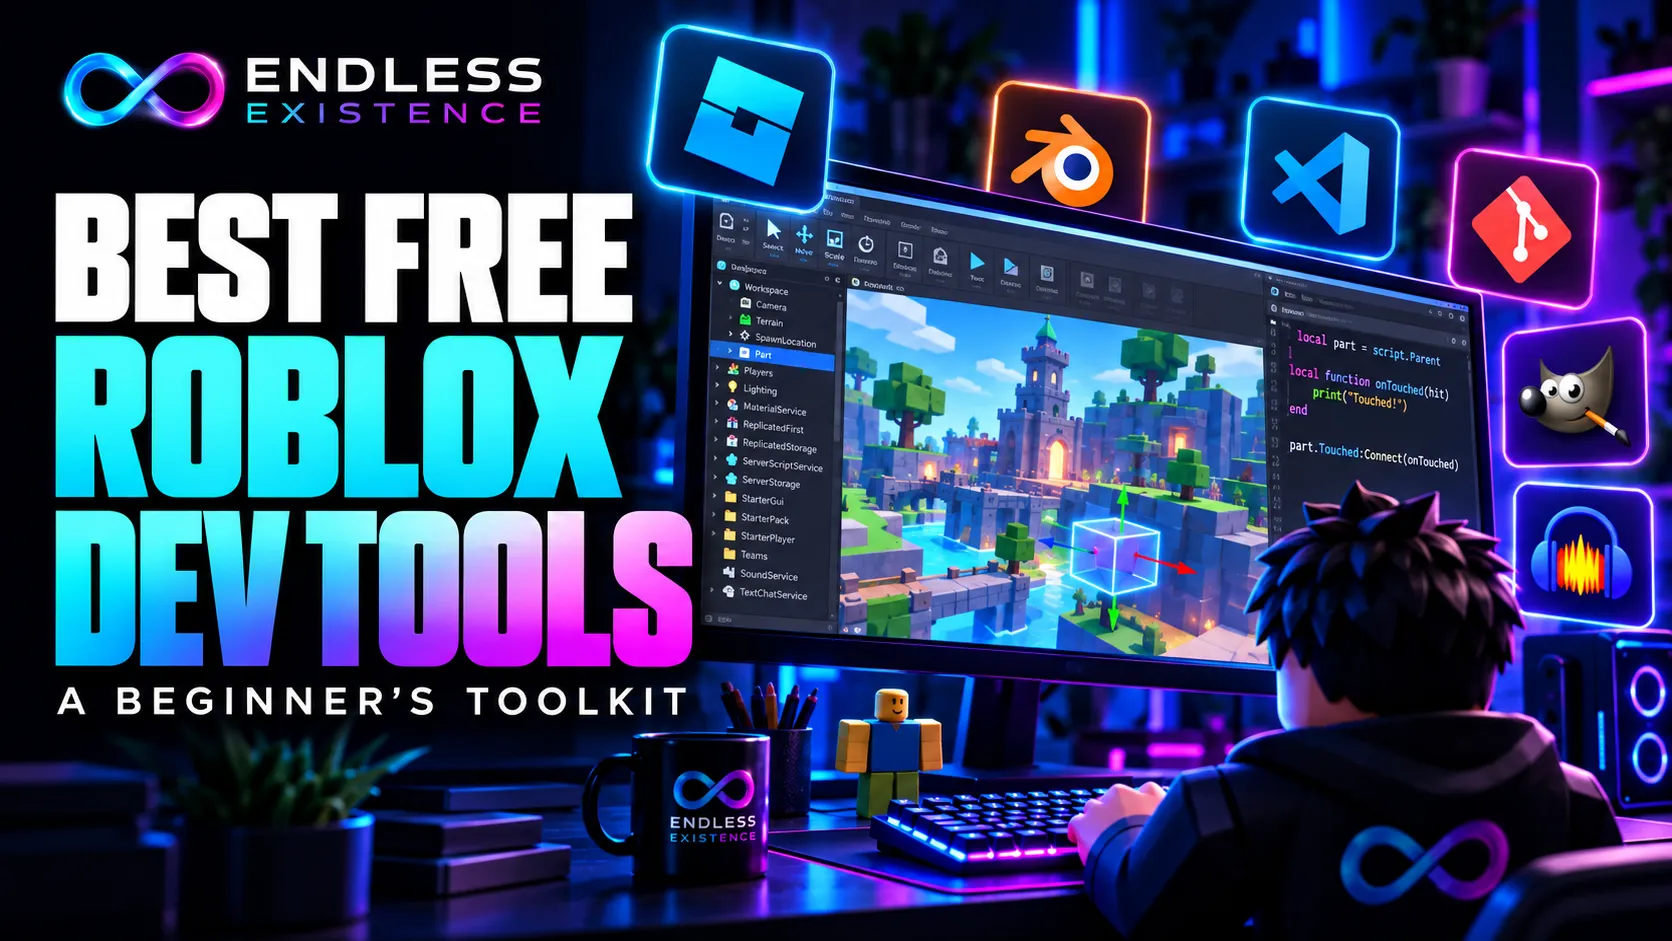
Roblox Studio is the essential tool for making Roblox games. You can build a playable first project using its built-in editor, scripting tools, and testing features. Other free tools become useful when you need custom models, original graphics, edited audio, or better code management.
The best free tools for Roblox game development are therefore the ones that solve a problem in your current project. Installing every application before you begin adds complexity without necessarily improving your game.
This guide covers a practical beginner toolkit, explains what each tool does, and shows when to introduce it into your workflow.
The Beginner Toolkit at a Glance
The recommendations below prioritize usefulness for a small first project. They are editorial choices, rather than a benchmark ranking of every available tool.
| Tool or resource | Main purpose | When to use it |
|---|---|---|
| Roblox Studio | Build, script, test, and publish | From the beginning |
| Roblox Creator Hub | Learn concepts and check API behavior | Throughout development |
| Roblox Creator Store | Find assets for prototyping and production | When suitable assets save time |
| Blender | Create custom 3D models | When Studio parts cannot achieve the result you need |
| GIMP | Create and edit images | When you need custom interface artwork or thumbnails |
| Audacity | Record and edit audio | When you need original or adjusted sound effects |
| Visual Studio Code | Edit scripts outside Studio | When an external code workflow becomes useful |
| Studio Script Sync | Synchronize scripts with local files | When you want external editing while keeping the project in Studio |
| Rojo | Manage supported project content from files | When you need a more structured file-based workflow |
| Git | Track changes to project files | When you have code or assets on disk worth versioning |
You do not need all of these immediately. Start with Studio and official documentation, then add tools as your project creates a clear need.
1. Roblox Studio: Your Main Development Environment
Roblox Studio is Roblox’s free development application. It combines world building, scripting, testing, and publishing in one environment. Its built-in Script Editor includes syntax highlighting, code completion, and inline documentation.
What You Can Do With It
For a simple obstacle course, you can use Studio to:
- Place and resize platforms.
- Adjust lighting and materials.
- Write checkpoint logic.
- Add interface elements.
- Test player movement.
- Publish the experience.
You can create a useful prototype before opening a separate modeling or graphics application.
What to Learn First
Begin with the panels that explain how your project is organized:
| Studio panel | What it helps you understand |
|---|---|
| Explorer | The hierarchy of objects, folders, services, and scripts |
| Properties | The settings of the selected object |
| Output | Errors, warnings, and messages produced during execution |
| Asset Manager | Assets associated with your project |
| Toolbox | Available assets and plugins |
These are core parts of Studio’s interface. In particular, Output helps connect what your code does with what happens during a test.
Beginner Practice
Build a short course from basic parts. Add one checkpoint and test it repeatedly.
This teaches positioning, object properties, script placement, and playtesting without requiring a complicated asset pipeline.
Main Limitation
Studio is the place where you assemble and run the game. Dedicated applications can offer more control over custom mesh modeling, image editing, and audio production.
Use those applications when they solve a specific problem—not because a professional-looking workflow needs more software.
2. Roblox Creator Hub: Your Reference for Technical Accuracy
Roblox Creator Hub provides official documentation, tutorials, and API references.
It should be part of your toolkit even though it is a website rather than a desktop application.
How to Use It Effectively
Search for the smallest concept behind your problem.
Instead of searching only for “make a simulator,” investigate questions such as:
- Which script type should handle this behavior?
- How does a player interact with this object?
- Where should this data live?
- Which API loads or saves a record?
- What happens when an operation fails?
Roblox’s scripting documentation also explains practical debugging tools, including Output and Script Analysis.
Example
Suppose a checkpoint does not activate.
Before replacing the entire script, check:
- Whether the script is running.
- Whether the event is firing.
- Whether the code identifies the correct player.
- Whether Output reports an error.
Documentation helps you investigate the mechanism instead of copying another complete system.
Main Limitation
A reference page explains behavior, but it may not teach every prerequisite. Beginners should combine it with introductory tutorials and small experiments.
3. Roblox Creator Store: Assets That Help You Prototype
The Creator Store contains assets you can use in Studio, including models, images, audio, and plugins. It includes both free and paid content.
Where It Saves Time
For an early prototype, you might use:
- A placeholder tree.
- A simple building.
- An environmental sound.
- A decorative prop.
These assets let you test gameplay before producing every visual yourself.
Inspect What You Insert
A model can contain behavior as well as visible geometry. Review its contents and understand any scripts before using it in an important project.
A practical habit is to insert an unfamiliar asset into a separate test place first. Check its hierarchy, run it, and observe Output.
Also verify whether the experience has permission to use restricted assets. Roblox’s asset documentation explains that permissions affect asset availability.
Main Limitation
Ready-made assets may differ in scale, visual style, or behavior. A collection of individually attractive models can still produce an inconsistent environment.
Choose assets that support your game’s requirements, and replace placeholders selectively.
4. Blender: Custom 3D Models for Your Game
Blender is free 3D software that can be used for commercial and educational work.
For Roblox development, its main value is creating shapes and assets that would be awkward to build from Studio parts.
Useful Beginner Projects
Start with a small prop:
- A treasure chest.
- A stylized rock.
- A lamp.
- A crate.
- A collectible item.
A simple prop introduces modeling and export concepts without the additional requirements of a fully rigged character.
A Practical Workflow
- Model the object in Blender.
- Check its dimensions and orientation.
- Export a supported format.
- Import it into Studio.
- Inspect its appearance and collision behavior.
- Test it in the intended scene.
Roblox documents support for formats such as FBX, glTF, and OBJ. Its Blender guidance also explains coordinate-system differences: Blender uses Z as its up axis, while Studio uses Y.
What Does Not Automatically Transfer?
Do not assume a Blender scene will reproduce perfectly in Roblox.
Materials, lighting, physics, and other scene behavior need to be checked in Studio. An exported model is an asset for the game, not the complete gameplay system.
Main Limitation
Blender has a substantial learning curve. It also makes it easy to create more detail than a small on-screen prop needs.
Use simple geometry first, then evaluate appearance and performance in the actual game.
5. GIMP: Interface Graphics, Textures, and Thumbnails
GIMP is a free, open-source image editor. It supports image manipulation and the creation of icons and interface graphics. Its official FAQ permits commercial use.
What You Can Create
Useful Roblox graphics include:
- Coin and inventory icons.
- Decorative interface artwork.
- Texture images.
- Game icons.
- Promotional thumbnails.
For example, you could create a transparent coin icon and import it for use in your game’s interface.
Learn These Skills First
Focus on:
- Layers.
- Selections.
- Text.
- Resizing and cropping.
- Transparency.
- Exporting images.
Keep the editable source project as well as the exported image. The source lets you change colors, text, and layout later without rebuilding everything.
Main Limitation
GIMP creates image assets; it does not implement the Roblox interface.
A button image still needs a UI object, layout behavior, and interaction logic in Studio. Keep important interface text editable in Roblox where practical, rather than embedding every label into an image.
6. Audacity: Original Sound Effects and Audio Editing
Audacity is a free, open-source audio recording and editing application. It supports importing, exporting, and converting common audio formats.
How It Helps a Roblox Project
You can use it to:
- Record an original sound.
- Trim silence.
- Adjust volume.
- Add fades.
- Combine recordings.
- Export an edited effect.
For a checkpoint sound, you might record a short object tap, remove unwanted silence, adjust its level, and export it for testing.
Listen in the Game
A sound that works in isolation may become distracting when repeated frequently.
Test it alongside music, movement sounds, and other effects. Check whether it communicates useful feedback without overwhelming the player.
Audio Rights Still Matter
Free editing software does not give you permission to use someone else’s recording.
Roblox requires rights to imported audio and applies technical requirements and usage permissions. Its Creator Store also provides free-to-use audio for Roblox experiences.
Main Limitation
Audacity prepares the audio file. Playback timing, positioning, permissions, and integration remain part of the Roblox project.
7. Visual Studio Code: An Optional External Script Editor
Visual Studio Code is a code editor that is free for private and commercial use.
It becomes useful when you prefer organizing scripts as local files or want an editor workflow that integrates with version control.
When to Add It
Consider VS Code when:
- Your project contains several related scripts.
- You want to search and navigate local code files.
- You want to track changes with Git.
- You prefer external editor features.
Studio’s built-in editor remains a sensible choice for a first project.
VS Code Does Not Run the Roblox Game
An external editor changes where you write code. Studio remains necessary for inspecting the data model, running the experience, and testing engine behavior.
You also need a synchronization workflow so file changes reach the project.
8. Studio Script Sync: External Editing Without a Full Project Migration
Roblox now documents a built-in Script Sync feature.
It synchronizes scripts with files on your computer, allowing edits in Studio or an external editor to transfer between them. Roblox positions it for developers who want external editing or code version control while continuing to manage the rest of the project in Studio.
When It Fits
Script Sync is worth considering when you want to:
- Edit scripts in VS Code.
- Keep building the environment in Studio.
- Add Git history for your code.
- Avoid reorganizing the entire project around files.
Important Boundaries
Script Sync is not a complete project export. Roblox documents limitations around non-script instances, script attributes, and tags.
Review conflict dialogs before choosing which version to keep. Test the workflow on a copy of your project before adopting it for important work.
9. Rojo: A More Structured File-Based Workflow
Rojo connects a file-based project with Roblox Studio. Its setup includes a Studio plugin and tooling that serves project content for synchronization.
When Rojo Becomes Useful
Consider it when you want explicit project mappings and a filesystem-based source of truth for supported project content.
It can help organize a growing codebase and make a version-controlled development workflow more deliberate.
Script Sync or Rojo?
| Need | Starting point |
|---|---|
| Build a first game entirely in Studio | Studio’s built-in editor |
| Edit scripts externally while retaining a Studio-managed project | Script Sync |
| Manage supported project structure and content from files | Rojo |
Rojo is not mandatory for VS Code.
Main Limitation
Rojo introduces configuration and synchronization rules you must understand. Its documentation also notes that not all property types can synchronize live.
Do not assume edits to managed content in Studio automatically become the correct source files. Establish which side owns that content and keep backups before changing synchronization settings.
10. Git: Track Changes and Recover Earlier Work
Git is a free, open-source version control system.
It records changes to files so you can inspect project history and recover earlier versions.
Why a Beginner Might Need It
Imagine adding a checkpoint feature, then accidentally breaking it while implementing rewards.
If working versions were committed, you can inspect the changes and recover the earlier implementation more easily.
Useful commit descriptions might include:
Add checkpoint activationFix repeated reward collectionUpdate inventory icons
Git Is Different From GitHub
Git manages version history. GitHub is a separate hosting and collaboration service.
You can use Git locally without a GitHub account.
What Git Does Not Protect Automatically
Git only tracks files you include in the repository. A local repository also does not protect against losing the entire computer.
Keep an appropriate separate backup. If your map remains only inside a Studio place file, committing synchronized scripts alone does not preserve every map change.
A Practical Workflow for Your First Game
Use a short obstacle course as an example.
Stage 1: Build the Gameplay
Use Studio and Creator Hub to create platforms, checkpoints, and a finish condition.
Your milestone is a playable course.
Stage 2: Add Feedback
Create one icon in GIMP if the interface needs it. Use Audacity if you need an original or edited checkpoint effect.
Your milestone is clear feedback when players make progress.
Stage 3: Add a Distinctive Asset
Use Blender for one custom prop that improves the environment.
Your milestone is an imported asset that looks correct and behaves appropriately in Studio.
Stage 4: Improve Code Management
If script organization becomes difficult, consider VS Code with Script Sync. Choose Rojo when you need broader file-based project management.
Add Git to record meaningful file changes.
Your milestone is a workflow you understand and can recover.
Common Beginner Mistakes
| Mistake | Better approach |
|---|---|
| Installing every tool before starting | Add software when a project requirement justifies it |
| Learning advanced modeling before testing gameplay | Build a playable version with simple parts |
| Assuming external tools replace Studio | Assemble and test the experience in Studio |
| Treating free assets as automatically suitable | Inspect behavior, permissions, and visual consistency |
| Expecting every Blender feature to transfer | Verify imported results in Roblox |
| Adopting sync tools without understanding ownership | Define the source of truth and test on a copy |
| Tracking only scripts and assuming the whole game is backed up | Preserve other project content separately |
| Polishing thumbnails while the game remains broken | Fix gameplay and usability first |
Frequently Asked Questions
Can I Make a Roblox Game With Free Tools?
Yes. Roblox Studio and the free applications described here can support a complete development workflow. Optional paid assets, services, or promotion are separate decisions.
Do I Need Blender?
No. Basic parts and Studio’s building tools can support many beginner projects. Add Blender when you need custom geometry.
Do I Need VS Code and Rojo?
No. Start with Studio’s editor. Script Sync provides another route to external editing, while Rojo serves a more structured file-based workflow.
Can I Use These Tools for a Game That Earns Money?
The cited official information permits commercial use of Blender, GIMP, and VS Code. Separately downloaded assets, fonts, recordings, plugins, and extensions may have their own terms.
Which Tool Should I Learn First?
Learn Roblox Studio first. Build and test a small project, use Creator Hub to understand its behavior, and introduce another tool when you can clearly explain what it will help you create.