You ask an AI assistant why your Unity score counter is broken. It suggests changing the script, so you copy the code, return to Unity, and press Play.
The counter still does not work.
After another round of explanations, you discover the actual problem: the UI reference was never assigned in the Inspector.
This is a common weakness of AI-assisted game development. A useful answer depends on understanding the project, and a script alone rarely tells the whole story.
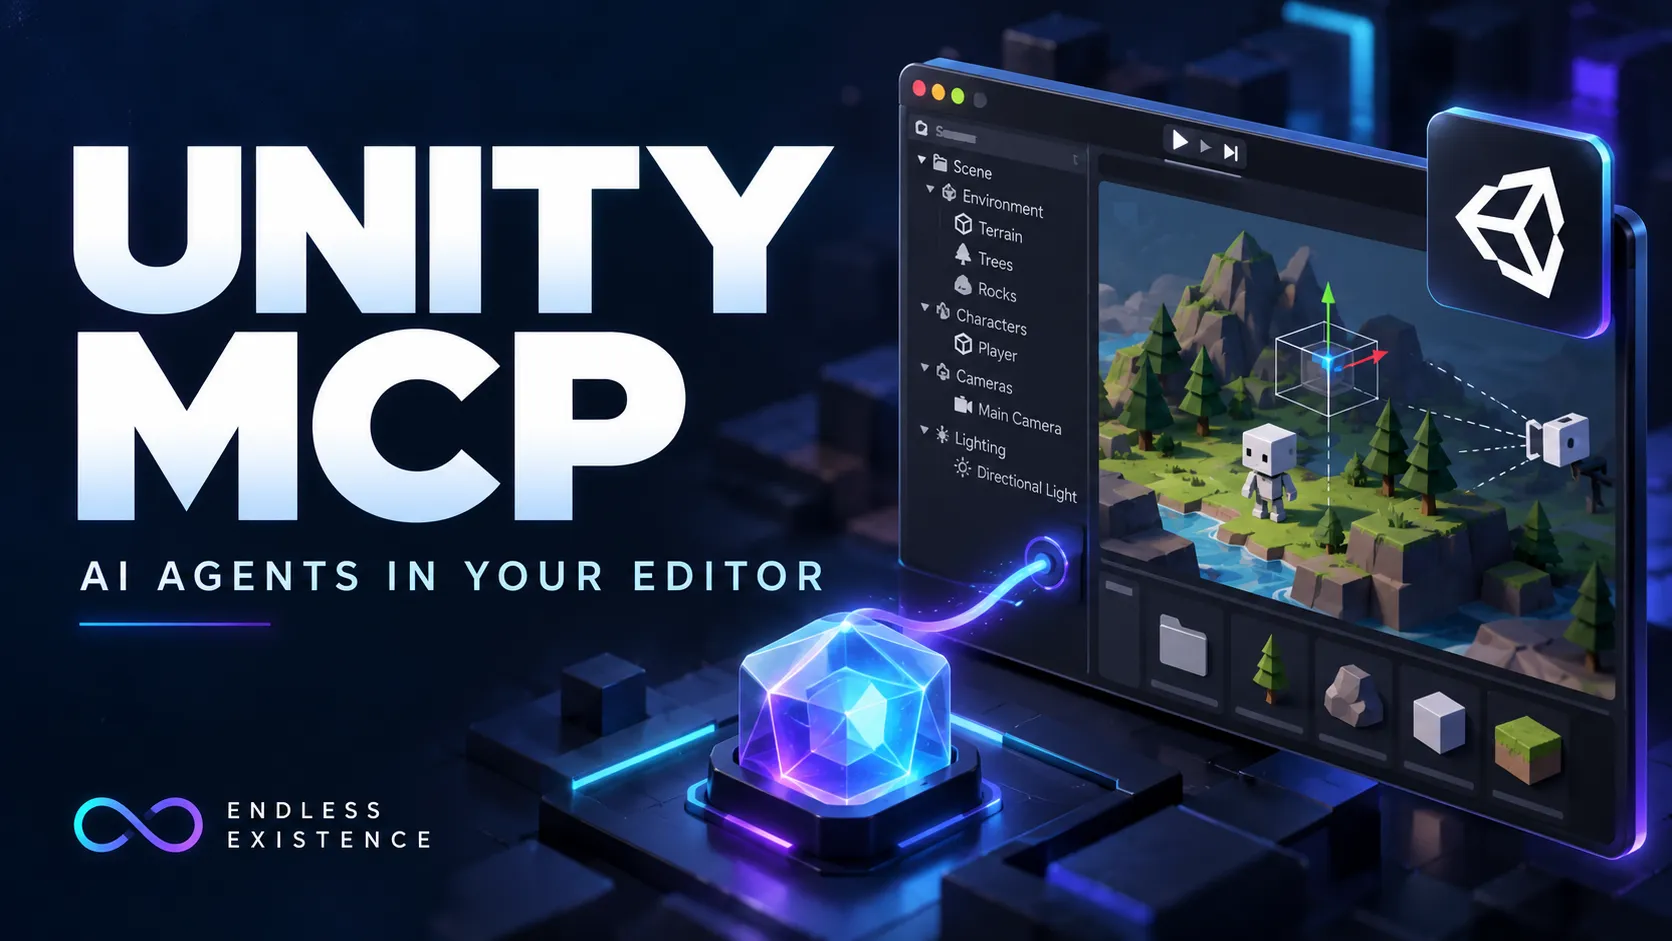
Unity MCP helps close that gap. It connects compatible AI agents to the Unity Editor, giving them tools to inspect project information and perform supported actions.
For beginners, the biggest benefit is practical: less copying between applications and more answers grounded in what is actually inside the project.
This guide explains how Unity MCP works, how to set it up, and how to use it without losing control of your game.
What Is Unity MCP?
MCP stands for Model Context Protocol, an open protocol that lets AI applications communicate with external tools and data sources.
An MCP connection gives an AI application a structured way to discover available tools, request an action, and receive a result. MCP itself is not an AI model. It provides the connection through which an AI application can use other software. Model Context Protocol
Unity implements this approach through its MCP integration.
A compatible external AI client can connect to Unity and call tools that expose supported Editor operations. Depending on the tools available and enabled, those operations can include working with scenes, assets, scripts, and Console output. Unity’s official integration is provided through its AI Assistant package. docs.unity3d.com
Think of a typical request:
Inspect the current scene and explain why the score display
might not update. Do not change anything.
A connected agent may inspect relevant objects and component values instead of asking you to describe everything manually.
However, access is limited by the integration, available tools, and permissions. Connecting an agent does not guarantee that it understands every system in your game.
Why Project Context Matters in Unity
A Unity feature often spans several places.
Your player movement might depend on:
- A C# script.
- A Rigidbody component.
- Input configuration.
- Inspector values.
- A prefab instance.
- Another object that enables or disables movement.
Showing an AI assistant only the movement script leaves much of that context out.
A file-based coding assistant may already inspect your source files. Unity MCP adds a route to supported information and actions inside the running Editor.
| Workflow | Available context | What you usually provide manually |
|---|---|---|
| General AI chat | Information you attach or describe | Scripts, errors, Inspector details, scene structure |
| File-based coding assistant | Project files within its configured access | Relevant Editor state and component configuration |
| MCP-connected Unity agent | File access plus supported Unity tool results | Your intended behavior, constraints, and acceptance criteria |
The important change is that the agent can investigate more of the problem before proposing a solution.
You still need to explain what the game should do. An agent cannot infer whether a jump should feel heavy, responsive, forgiving, or deliberately difficult from a component value alone.
What Can AI Agents Do Through Unity MCP?
Unity documents tool categories for scene management, script editing, Console access, component inspection, and build configuration. The available operations depend on your installed integration and enabled tools. Unity
Here are practical ways to use those capabilities.
Inspect a Scene Before Editing It
An agent can help explain how a scene is organized.
For a beginner, that might mean identifying the player, camera, UI objects, and scripts involved in a particular feature.
A focused request is more useful than asking the agent to “analyze everything.”
Inspect the active scene and explain how the player,
camera, and score UI are connected.

Report the relevant GameObjects and components.
Do not modify the scene.
Investigate Console Errors
Instead of repeatedly copying stack traces into a chat window, you can ask the agent to retrieve available Console information and investigate relevant code.
The benefit is continuity: the error, script, and proposed fix can remain part of the same workflow.
Make Small Scene Changes
A connected agent can perform supported scene operations, such as creating an object or updating a component value.
These are useful starting tasks because the results are easy to inspect.
Assist With C# Changes
An agent can help implement a bounded change while considering the surrounding project.
For example, it might inspect the existing camera setup before proposing a follow-camera script.
That is more useful than generating a second camera system without checking whether one already exists.
Support Project-Specific Workflows
Unity also supports registering custom MCP tools. These can expose workflows specific to your project or team. docs.unity3d.com
Beginners usually do not need to start here. First learn how the built-in tools behave and where they help.
Unity MCP Is Different From AI Inside Your Game
Unity MCP primarily supports development workflows in the Editor.
Connecting an AI client does not automatically give your game intelligent enemies, conversational NPCs, or a machine-learning system.
Those features require their own runtime architecture.
For example, an NPC conversation system needs decisions about:
- Where responses come from.
- How requests are sent.
- How dialogue affects game state.
- What happens when a request fails.
- How latency and usage costs are handled.
An MCP-connected agent might help you build that system, but the Editor connection and the finished gameplay feature are separate things.
Official Unity MCP and Community Integrations
You may encounter several projects described as “Unity MCP.”
Some are community-developed integrations. Others refer to Unity’s official implementation.
They can differ in installation, tool names, supported Unity versions, authentication, and configuration.
This tutorial follows Unity’s official AI Assistant documentation. Avoid combining its setup instructions with configuration files from an unrelated integration.
Before installing anything, confirm who maintains it and which documentation applies to your package.
What You Need Before Starting
Prepare the following:
- A compatible Unity Editor version.
- Unity’s AI Assistant package.
- An MCP-compatible external AI client.
- Any accounts or service access required by your chosen setup.
- A small test project or a recoverable copy of your existing project.
Version compatibility deserves attention. The Assistant 2.11 installation documentation lists Unity 6000.0.76f1, Unity 6.3, or later as prerequisites. Check the requirements for the package version you actually install rather than assuming every Unity 6 release supports the same workflow. docs.unity3d.com
Unity’s May 2026 MCP guide also lists a Unity Cloud-linked project and an active Unity AI trial or subscription among its prerequisites. Since access and package requirements can change, check the current onboarding instructions before committing to a setup. Unity
If your existing game is stable on an older Editor version, experiment in a separate project first. An Editor upgrade can introduce work unrelated to MCP.
How to Set Up Unity MCP
The following steps follow the official Assistant documentation. Some versions label the settings page “Unity MCP,” while others use “Unity MCP Server.”
Step 1: Create a Recovery Point
Before allowing an agent to edit the project, create a Git commit or a complete backup.
Include the project’s Assets, Packages, and ProjectSettings directories. Preserve .meta files alongside their assets because they contain identifiers Unity uses to maintain references.
For your first experiment, use a small scene with only a few objects. It is easier to understand a change when you can inspect the whole scene.
Step 2: Install Unity AI Assistant
Where available, open the AI menu in the Editor toolbar and follow the installation flow.
The documented manual alternative is:
- Open Window → Package Manager.
- Select the option to install a package by technical name.
- Enter
com.unity.ai.assistant. - Install the package.
Follow any terms and account prompts shown by your version. docs.unity3d.com
Step 3: Check the Bridge
Open Edit → Project Settings → AI → Unity MCP Server.
Check that Unity Bridge shows Running. If it is stopped, select Start. docs.unity3d.com
The bridge connects the Editor to the external client through Unity’s relay process. Unity documents local interprocess communication for this connection. docs.unity3d.com
Step 4: Configure Your AI Client
In the Integrations section, select your supported client and choose Configure.
For manual setup, copy the Example Configuration shown by your installed package. It points the client to the platform-specific relay executable and supplies the required --mcp argument.
Use an absolute executable path; some clients do not expand ~. docs.unity3d.com
Copying your package’s configuration is preferable to using a random example that may target another operating system.
Step 5: Approve the Connection
For a first direct connection, review the Pending Connections entry in Unity and accept the intended client.
Confirm that it appears under Connected Clients and that the external application can discover Unity tools. docs.unity3d.com
Connection approval establishes access. Continue reviewing the actions that access enables.
Step 6: Run a Read-Only Request
Start with:
Read the Unity Console and summarize existing warnings
and errors.

Do not edit scripts, change scenes, clear the Console,
or enter Play Mode.

If the connection or required tool is unavailable,
explain what failed.
Watch the tool activity in your client.
A successful answer should distinguish retrieved information from assumptions. If the agent cannot access the Console, it should say so.
Your First Editing Task: Create a Spawn Marker
After confirming inspection works, try a small scene change.
In the active test scene, create one empty GameObject
named PlayerSpawn at world position (0, 0, 0).

Do not add components or change existing objects.
Do not save over another scene.

If PlayerSpawn already exists, stop and report it.
Then inspect the result yourself:
- Locate
PlayerSpawnin the Hierarchy. - Check its Transform.
- Confirm that existing objects are unchanged.
- Review any scene changes before saving.
This exercise teaches the basic workflow: request a bounded action, inspect its result, and decide whether to keep it.
That habit becomes more important when changes involve prefabs, scripts, or multiple scenes.
A Practical Debugging Example: A Broken Score Display
Suppose collecting a coin produces a NullReferenceException, and the score display does not update.
This is a hypothetical example, not a tested project.
Several explanations are possible:
- A UI reference was never assigned.
- A referenced object was destroyed.
- The script is attached to the wrong object.
- The active prefab instance differs from the one you inspected.
- Initialization happens in an unexpected order.
Start by asking for evidence:
Investigate the NullReferenceException associated with
collecting a coin.

Read the relevant Console entry and stack trace.
Inspect the script at the reported location and any
accessible scene references involved.

Do not change anything yet.

Explain what you inspected, what is confirmed, and what
still needs verification. Propose the smallest fix.
Review the Diagnosis Before Applying a Fix
If the problem is an unassigned Inspector field, a code rewrite may be unnecessary.
The agent should identify the field and determine which object should supply the reference.
Be cautious about fixes that merely hide the symptom. A null check can prevent an exception while leaving the score counter broken.
A better follow-up is:
Explain whether the proposed change restores the score
display or only prevents the exception.

Identify the intended UI reference and how the fix
will be verified.
Test the Original Behavior Again
After accepting a change:
- Wait for compilation to finish.
- Enter Play Mode.
- Collect a coin.
- Confirm the visible score changes correctly.
- Check the Console.
- Stop and restart Play Mode.
- Repeat the same action.
An empty Console is useful evidence, but it does not prove the feature works. The score can be wrong without producing an exception.
If the issue appears only in a build, reproduce it in a build as well.
How to Write Useful Prompts for Unity AI Agents
A strong prompt specifies the desired behavior, scope, constraints, and verification.
Compare:
Make my camera better.With:
Inspect the current camera setup and propose a simple
follow-camera approach for this 3D prototype.

The camera should follow the existing Player object.
Preserve the current camera offset.
Check for an existing camera system before proposing
another one.

Do not make changes yet.
List the objects and files that would be affected.
The second request gives the agent something concrete to investigate.
Avoid instructions such as “fix everything” or “optimize the whole project.” They combine too many decisions and make the result difficult to review.
For beginners, use one task per request:
- Investigate one error.
- Inspect one feature.
- Modify one script.
- Change one component.
- Review one implementation.
Three More Prompts Worth Keeping
Explain an Existing Feature
Inspect how jumping works in this project.

Identify the relevant script, components, and adjustable
values. Explain the flow in beginner-friendly language.

Do not change anything. Separate inspected facts from
assumptions.
Plan a Small Implementation
Plan a health system for the existing Player.

Use the project's current conventions where possible.
Include damage, a health display, and a death event.

Do not implement it yet. Explain the responsibilities
of each proposed component and how I should test them.
Review a Completed Change
Review the recent changes to the player movement feature.

Look for incorrect references, conflicts with existing
components, and behavior that needs manual testing.

Do not modify anything. Report which checks were
performed and which remain unverified.
These prompts make the agent useful as a teacher and reviewer, not just a code generator.
Common Unity MCP Problems
| Symptom | What to check |
|---|---|
| The client cannot connect | Bridge status, relay configuration, and connection approval |
| Connected, but a required tool is unavailable | Installed integration version and enabled tools |
| The agent inspects the wrong project | Multiple open Editor instances and connection targeting |
| Changes compile but gameplay is wrong | Intended behavior, component configuration, and runtime testing |
| Instructions do not match your settings window | Documentation for your installed package version |
For multiple open projects, Unity documents targeting options using a project path or Editor process ID. Its setup guide notes that an untargeted relay connects to the first Editor instance it discovers. docs.unity3d.com
There is also an easy settings mix-up: AI → MCP Client configures external servers that Unity Assistant connects to, while Unity MCP configures what Unity exposes to external clients. docs.unity3d.com
Permissions, Privacy, and Costs
The local Editor connection does not necessarily mean the AI model runs locally.
An external client may send retrieved information to a cloud model. Check that client’s data handling and account settings before using private source code or unreleased assets.
Also inspect the permissions available in both Unity and your external client. A prompt saying “do not edit” communicates intent, but technical permissions provide the actual access boundary.
When reviewing changes, consider scripts, scenes, prefabs, and project settings. A successful compilation does not reveal every unwanted scene edit.
For costs, distinguish the Unity integration from the external AI service. Trial access, subscriptions, model usage, and limits depend on the services you choose. Check current terms rather than assuming the entire workflow is permanently free.
Is Unity MCP Worth Using as a Beginner?
It can be useful when you are learning how scripts, components, and scene configuration work together.
Good beginner tasks include explaining a feature, investigating a specific error, checking a reference, or performing a small reversible edit.
It is less useful when the request replaces your understanding of the feature. If you cannot explain what changed or how to test it, slow down and ask for a walkthrough.
A productive learning sequence is:
- Let the agent inspect the relevant part of the project.
- Ask it to explain what it found.
- Review a small proposed change.
- Apply and test that change.
- Describe the resulting behavior in your own words.
The value comes from making project investigation easier while keeping you involved in the decisions.
Frequently Asked Questions
Do I Need to Learn MCP Programming?
No. You can use an existing integration without implementing the protocol.
You mainly need to understand connection setup, available tools, permissions, and how to review actions.
Can Unity MCP Build an Entire Game?
An agent can assist with supported development tasks, but completing a game still involves design decisions, integration, testing, performance work, and iteration.
Start with a small playable feature that you can verify.
Does Connecting an Agent Mean Its Answers Are Correct?
No. More context can improve an answer, but the agent can still misunderstand a requirement or make a faulty change.
Judge the result through inspected evidence and actual behavior.
Should I Use Unity MCP on My Main Project Immediately?
Start in a small test project. Once you understand how the connection and editing workflow behave, introduce it to your main project with a recovery point and bounded tasks.
Start With One Problem You Can Verify
Your first Unity MCP session does not need an ambitious feature.
Choose one existing Console error, one confusing scene reference, or one small object change. Ask the agent to inspect it, explain what it found, and propose a limited action.
Then verify the result in Unity.
That is where a project-connected AI agent becomes useful: helping you understand and work through the details of your game, one reviewable change at a time.