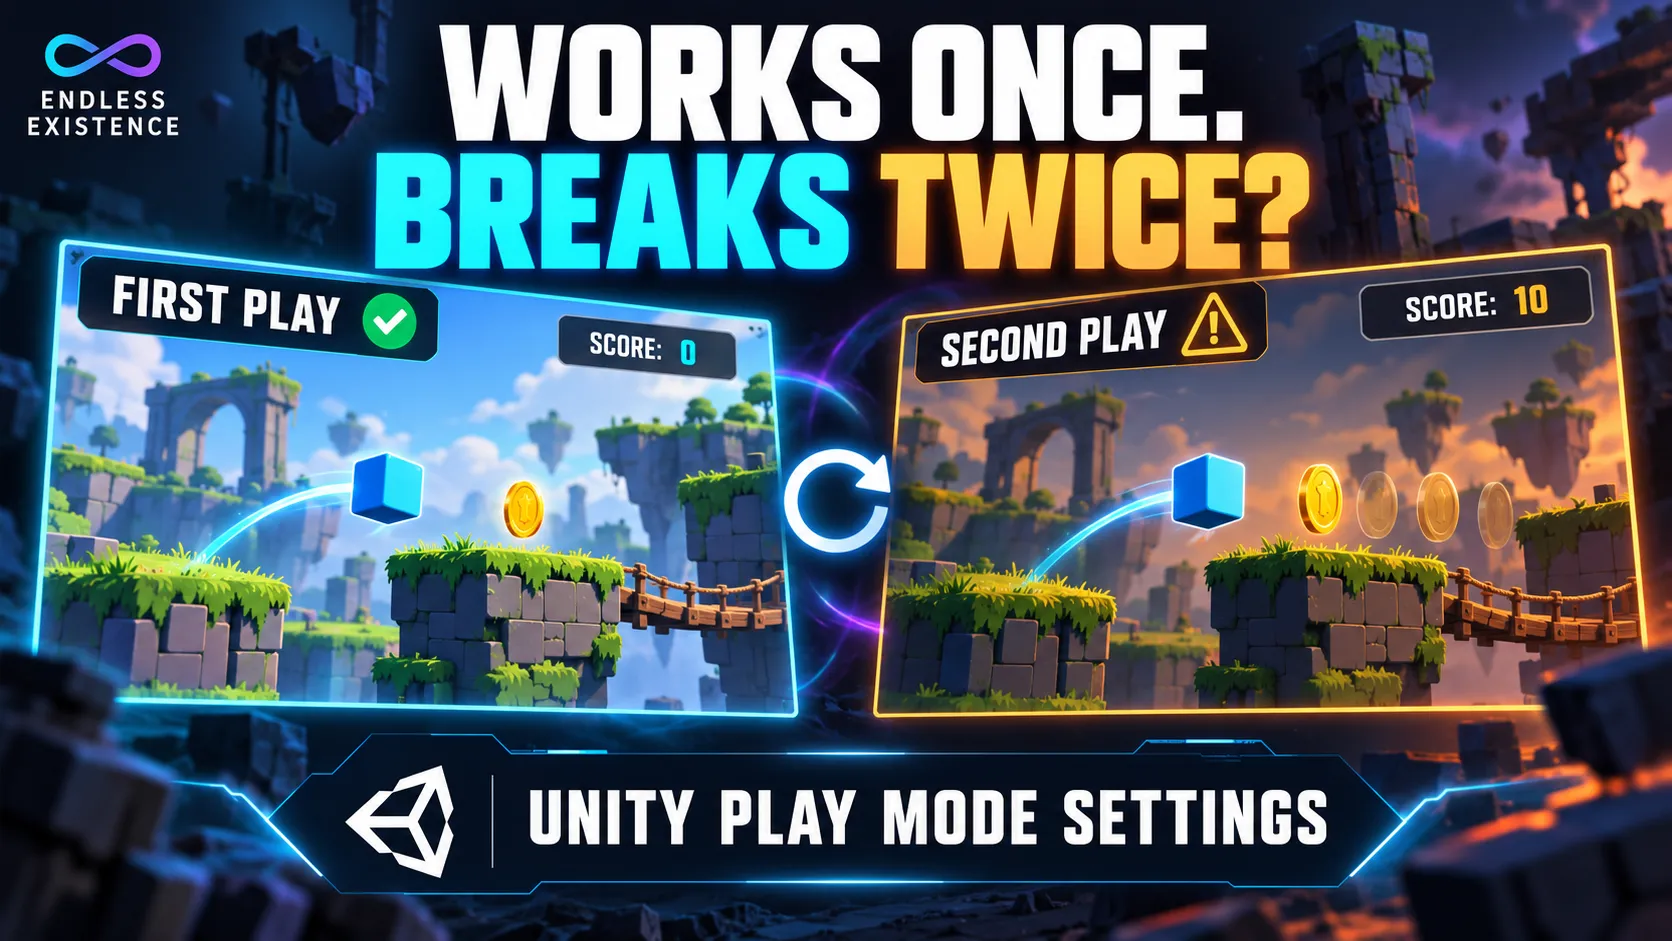
You press Play, collect a few coins, and stop the game. Then you press Play again.
The level looks fresh, but the score hasn’t returned to zero.
Or perhaps the score is fine, but one pickup suddenly triggers two sound effects. You restart Unity, and everything works again—until the next test.
When a bug follows this pattern, check your Unity Play Mode settings before rewriting the pickup system. The Editor may be carrying runtime state from one test into the next.
This guide explains what Unity resets when you press Play, why that matters, and how to investigate problems that appear only after repeated playtests.
The settings described here follow Unity 6.6. Older versions may use different labels.
What Happens When You Press Play?
Entering Play Mode involves more than starting your scripts. Unity can reload the scene and reload the scripting domain.
These are separate operations.
Scene reload rebuilds the scene objects. Domain reload resets managed scripting state, including static fields.
That distinction matters because a fresh-looking scene doesn’t necessarily mean every variable has a fresh value.
In Unity 6.6, the default setting is “Reload Scene only.” Domain reload is skipped, which helps reduce the wait before testing. Check your project’s actual configuration, especially if it was created in an older version.
Where to Find Unity Play Mode Settings
In Unity 6.6:
- Open Edit → Project Settings.
- Select Editor.
- Find Enter Play Mode Settings.
- Look for the “When entering Play Mode” dropdown.
The available choices are:
| Setting | Domain reload | Scene reload |
|---|---|---|
| Reload Domain and Scene | On | On |
| Reload Scene only | Off | On |
| Reload Domain only | On | Off |
| Do not reload Domain or Scene | Off | Off |
Reloading less can shorten the transition into Play Mode. It also changes which parts of your project need explicit initialization.
Before changing anything, write down the current selection. A screenshot is enough. You’ll want to compare behavior without losing track of your starting point.
Why a Static Variable Can Survive a Playtest
A static field belongs to the class rather than an individual component instance.
Consider this declaration:
public static int Coins = 0;It’s tempting to read it as “set Coins to zero whenever the game starts.”
But a field initializer doesn’t promise to run on every press of the Play button. With domain reload disabled, static values can remain between Play Mode sessions. Static event subscriptions can remain too.
This gives you a useful debugging question:
Who resets this value, and when?
If the answer is “Unity probably does,” inspect the startup behavior more closely.
A Small Example You Can Try
Create a script named PlaySessionCounter.cs:
using UnityEngine;

public class PlaySessionCounter : MonoBehaviour
{
    private static int sessionCount = 0;

    private void Start()
    {
        sessionCount++;
        Debug.Log($"Play session count: {sessionCount}");
    }
}
Attach it to one active GameObject in a simple scene. Leave scene reload enabled for this experiment.
Then:
- Press Play.
- Read the Console message.
- Stop Play Mode.
- Press Play again without editing the script.
With domain reload disabled, the expected sequence is an increasing count. With domain reload enabled, the expected count is 1 on each entry.
These are expected results based on the documented behavior; the example has not been executed in Unity for this article.
Keep the scene limited to one copy of the component. Otherwise, multiple Start() calls will make the count harder to interpret.
Also avoid changing scripts during the comparison. Code reload introduces another variable into the experiment.
Resetting Static State in Unity 6.6
Unity 6.6 provides an AutoStaticsCleanup attribute for automatic static cleanup.
For a counter that should reset before each playtest, the example becomes:
using Unity.Scripting.LifecycleManagement;
using UnityEngine;

public partial class PlaySessionCounter : MonoBehaviour
{
    [AutoStaticsCleanup]
    private static int sessionCount = 0;

    private void Start()
    {
        sessionCount++;
        Debug.Log($"Play session count: {sessionCount}");
    }
}
Two details matter here:
AutoStaticsCleanupmarks the field for cleanup.partialallows Unity’s source generator to add the required code.
For this integer field, cleanup reapplies its initializer, restoring the value to zero. Check the documentation for your installed Unity version before using the attribute in an older project.
A Fresh Playtest and a New Round Are Different Events
Resetting a field between Editor sessions doesn’t define what should happen when a player clicks “Restart Level.”
Suppose your game has three kinds of data:
| Data | Intended lifetime |
|---|---|
| Current round score | One round |
| Coins earned during a run | One run |
| Saved progression | Across launches |
Those values need different reset rules.
A round score might be cleared by BeginRound(). Run currency might be cleared by BeginNewRun(). Saved progression should change only according to your save system.
Write those rules explicitly. Otherwise, you can fix the Editor behavior and still leave the in-game restart button broken.
For a beginner project, this is also a good reason to avoid making every variable static. Ask whether a value really needs to be shared across all instances before choosing that lifetime.
Why One Action Can Trigger Twice
A repeated sound, duplicated reward, or repeated Console message can point to an event subscription problem.
For ordinary runtime components, a useful pattern is to subscribe when enabled and unsubscribe when disabled:
private void OnEnable()
{
    CoinEvents.Collected += HandleCoinCollected;
}

private void OnDisable()
{
    CoinEvents.Collected -= HandleCoinCollected;
}
This is a pattern excerpt, not a complete script. It assumes your project already defines CoinEvents.Collected and a matching HandleCoinCollected method.
OnDisable() runs when an enabled component is disabled, its GameObject is deactivated, or its scene is unloaded, among other documented cases. It provides a cleanup point for these ordinary runtime subscriptions.
Keep the subscription and its cleanup close together. It makes the relationship easier to review later.
However, repeated behavior doesn’t prove that an event was subscribed twice. Check the scene too. Two audio components or two copies of a manager can produce similar symptoms.
Log the Source, Not Just the Result
A message such as:
Debug.Log("Coin collected");tells you that something happened. It doesn’t tell you which object reported it.
During investigation, include the component’s identity:
Debug.Log(
    $"Coin collected by {name}, instance {GetInstanceID()}",
    this
);
If two different instances report the same pickup, inspect the objects involved. If one instance repeatedly receives the same notification, inspect how the event is raised and subscribed.
That gives you a more useful next step than adding a boolean guard and hoping the symptom disappears.
What Changes When Scene Reload Is Disabled?
Disabling scene reload changes the setup further.
Unity avoids recreating existing scene objects through the normal reload process. Non-serialized fields and initialization assumptions deserve attention, and scripts that execute in Edit Mode have additional lifecycle differences.
It also makes the Editor’s transition into Play Mode less representative of scene startup in a built application. Unity recommends enabling scene reload when investigating startup loading behavior.
For a beginner, a sensible approach is to keep scene reload enabled while learning initialization and cleanup. Once those systems are predictable, compare the other settings in a small test scene.
There’s little value in saving a short wait if every second playtest begins with uncertain state.
How to Investigate a Game That Works Only Once
Use a controlled comparison. Changing several systems at once makes it difficult to tell which change helped.
1. Write Down the Exact Symptom
“Something breaks after playing twice” is too broad.
Try:
On the second Play Mode entry, collecting one coin adds two points.
That description gives you a clear action and a measurable result.
2. Repeat the Same Test
Use the same scene and collect the same pickup. Stop and start again without changing code.
If the behavior is inconsistent, record what else changed: scene selection, object activation, saved data, or menu flow.
3. Compare With Domain Reload Enabled
Temporarily select “Reload Domain and Scene.”
If the problem disappears, retained scripting state becomes a stronger suspect. It still isn’t proof of the exact cause.
Inspect static fields, static event subscriptions, and code that assumes initialization happens only once.
4. Check for Duplicate Objects
Look for multiple managers, repeated prefab instances, and overlapping pickup components.
Don’t let the Play Mode setting distract you from a scene setup error.
5. Fix the Owner of the State
Once you find the value or subscription, define its lifetime.
A score system should know when a round begins. An event listener should know when it should stop listening. A cache should have an intentional reason to survive.
Make the correction there, then repeat the original test under your chosen settings.
Faster Play Mode Doesn’t Mean a Faster Game
These options control the Editor workflow. They don’t, by themselves, improve your game’s frame rate.
Measure the problem you’re trying to solve.
If pressing Play takes too long, compare entry times under different reload configurations. If the game stutters after it starts, investigate runtime work separately.
A simple timing comparison is enough to decide whether a setting change helps your workflow. Use several attempts under similar conditions rather than judging from one unusually fast or slow entry.
Test a Built Player Too
Editor tests are useful, but your players will launch a built application.
Include a short startup check in your routine:
- Build for your target platform.
- Launch the application.
- Start a round and change the score.
- Restart the round through the game’s own controls.
- Close the application.
- Launch it again and inspect the starting state.
Keep separate expectations for temporary round data and saved progression. If you’ve implemented saving, decide in advance what should survive a relaunch.
This catches a different class of mistakes from repeatedly pressing Play in the Editor.
Which Setting Should a Beginner Use?
My recommendation is to start with scene reload enabled and learn to initialize runtime state explicitly.
If repeated sessions behave differently, temporarily enable domain reload to compare results. Use that comparison to locate the problem, then decide whether to restore the faster configuration.
For projects using Unity 6.6’s cleanup features, apply them deliberately to state that should reset between playtests. They still don’t replace your game’s round, run, or save logic.
The practical test is simple: start the same scene twice and perform the same action. If the second run behaves differently, investigate what survived the first.